How to install EVE-NG on a Windows 11 laptop
Prerequisites:
1. Recommended hardware laptop/PC requirements
CPU: Intel CPU supporting Intel VT-x /EPT virtualization (ensure this is enabled on the bios)
Operating System: Windows 10, 11 or Linux Desktop
2. VMware Workstation 15.0 or later or VMware Player 15.0 or later installed on your computer.
Note: There’s a link at the EVE-NG website to download VMware Workstation Player (free).
**********
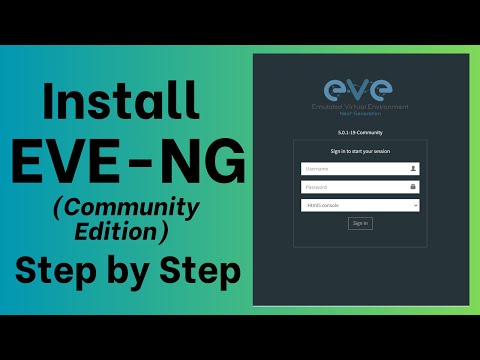
1. Download the Free EVE Community Edition Version (5.0.1-19) from eve-ng.net.
2. Open VMware Workstation and import the EVE-VM/ovf file.
3. Edit the VM settings and set the follwing:
Memory
Processors
Enable Virtualize Intel VT-x/EPT or AMD-V/RVI
Network Adapter: NAT (recommended for laptops)
4. Power on the VM, log into (root/eve) the CLI and configure the network settings.
Root Password
Hostname: default eve-ng
DNS domain name: example.com
IP address: DHCP
NTP Server: None
Proxy Server Configuration: direct connection
5. Get the mgmt IP from the CLI and type IP) into the browser.
Note: Use “ip route show” and “cat /etc/resolv.conf” to verify IP and DNS settings.
6. Log into the GUI using the username “admin” and password “eve” and choose Html5 console.
7. Add a new lab and set up two VPCS and ping each other.
VPCS 1: ip 10.10.10.1 255.255.255.0
VPCS 2: ip 10.10.10.2 255.255.255.0
8. You have now successfully installed EVE-NG and tested it.
References:
David Bombal:
Community Cookbook:
Note: Reset Management IP
rm -f /opt/ovf/.configured
su –
Nodes per lab calculator:
#eveng #gns3 #virl
[ad_2]
source


